Welcome
Thank-you for purchasing an XLR SIP Codec ‘Touch’ from In:Quality.
Before you begin, please attach the two black self-adhesive cushioned strips to the base of the unit, to protect surfaces.

Thank-you for purchasing an XLR SIP Codec ‘Touch’ from In:Quality.
Before you begin, please attach the two black self-adhesive cushioned strips to the base of the unit, to protect surfaces.
When you made your order, if you told us how you would like the device to be pre-configured, then it should arrive ready to use. If not, you’ll need to configure the unit before you can use it.
If it’s already configured – and it registers successfully – you should now see a phone handset icon on the screen, and you can begin making and receiving calls. We offer a free first-time test service, which you can request by raising a support ticket.
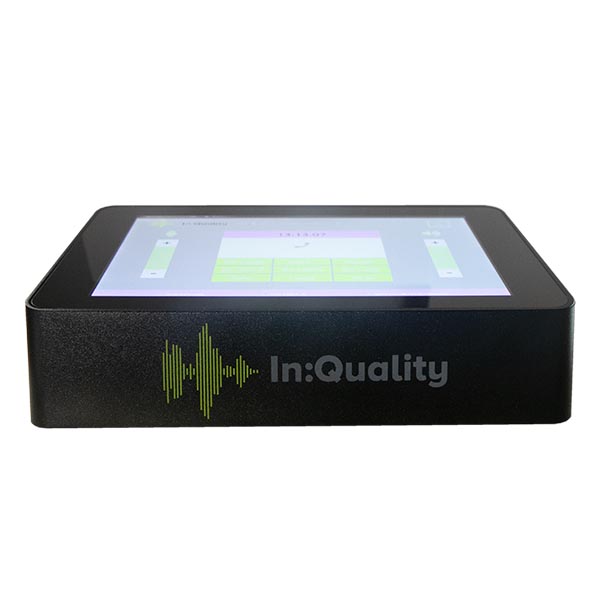
The touchscreen displays call status, any configured quick dial shortcut buttons, the device’s IP address, and your SIP address. There are volume controls for the microphone and headphones, along with a mute icon for each. Touching the green status box will activate the virtual keyboard for manual dialing.
Your SIP Codec is registered with a sip.audio account. Your SIP address will be something like your.name@sip.audio
Ask the remote party to call your SIP address. At the agreed time, wear the headphones and check that the microphone is switched on. If ‘Auto Accept’ is disabled in the device settings, answer the call using the checkmark button on the screen.
You can control the SIP Codec and edit the configuration from any computer on the same network. You’ll find the IP address at the bottom of the touchscreen.
Your network may also be configured to allow access at http://inqodec
Open a web browser and enter the IP address e.g. 192.168.1.XX
The default password for the web Interface is inqodec. You may choose to change this.
There are many additional sip device settings available here. To access the menu, click the gear icon at the top of the page…
If quick dial buttons have already been configured, simply press the appropriate button on the touchscreen, and the saved destination will be dialed. Additionally, you can access a full list of configured destinations, using the ‘hamburger’ icon at the top of the screen. Press the phone handset icon to dial one of these.
To dial manually, touch the green status box in order to activate the keyboard, and check that ‘SIP/Tel’ is highlighted. Enter the SIP address or phone number (Tel subscription required). Phone numbers must start with a + and the country code (e.g. +1). Press the green phone handset icon to dial.
You may also dial manual addresses using the web interface via a computer, or using an attached USB keyboard.
Touch the large red status box to end the connection, and confirm when prompted.
This functionality is no longer available, due to the worldwide ISDN switch-off.
The following document contains safety instructions and compliance data for the SIP Codec’s main control board:
https://www.raspberrypi.org/documentation/hardware/raspberrypi/compliance/rpi_SAFE_3plus_1p3.pdf